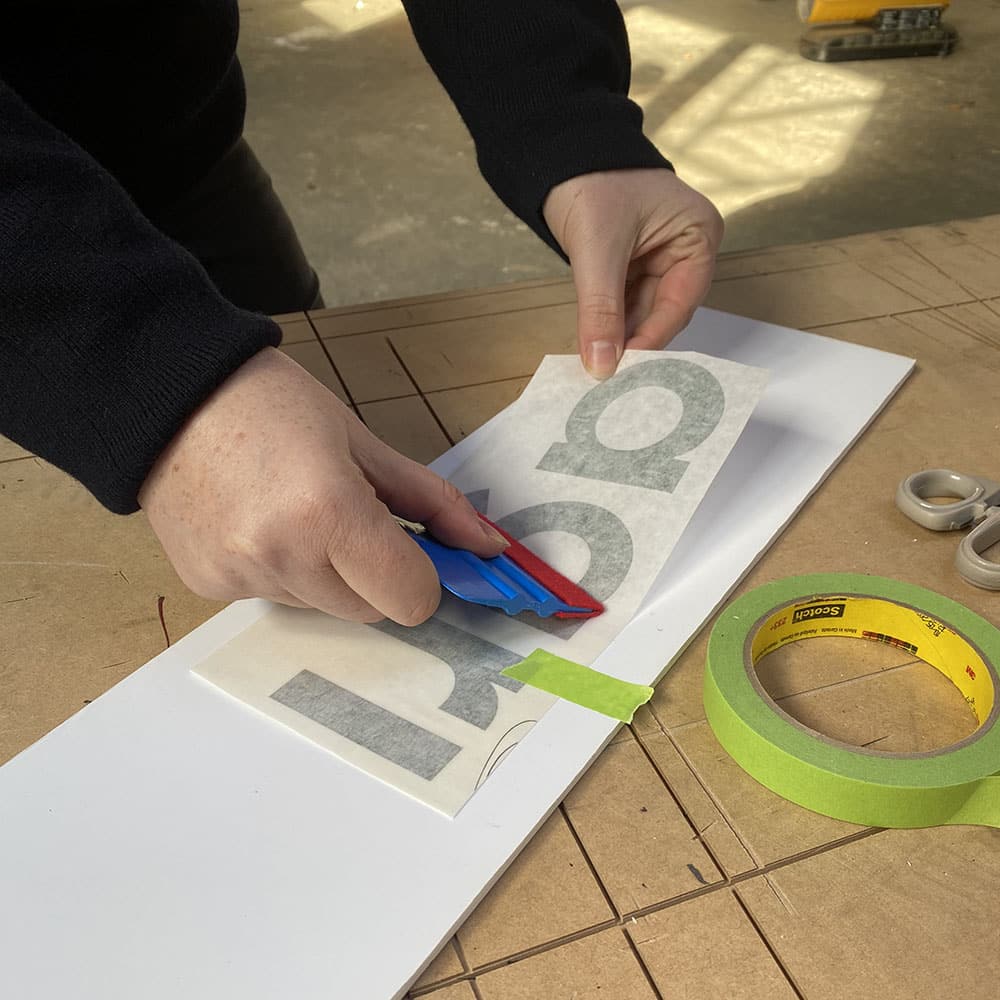
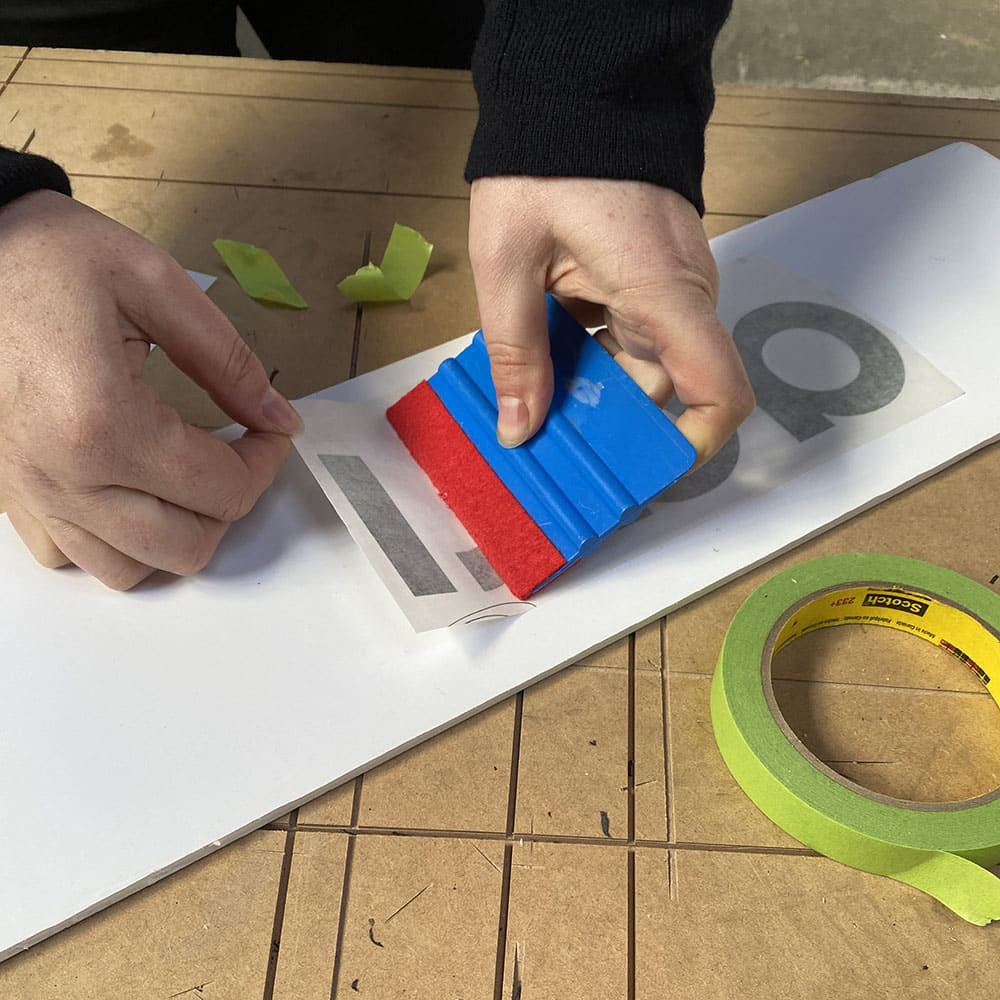
Your vinyl decal/sticker will look its best if it's put on correctly. As well as saving the pain of bubbles, you'll ensure that your sticker, well, sticks! If you're DIYing your decal application, we have some instructions below to help you out:
STEP 1
Clean the area thoroughly to remove any dust, debris or grease. We use diluted IPA - isopropyl alcohol. You can use soap and water, just let the area dry thoroughly.
STEP 2
Line up where you want your decal to go, use some masking tape to secure the decal into position. Once it is in position, you will need one half of the decal loose, so you may need to move tape onto one side of the decal, so you've got a free edge.
STEP 3
On the loose side of your decal, peel the transfer tape (with decal attached) away from the backing paper. Cut the backing paper through the centre.

STEP 4
Hold the outer edge of the decal at a shallow angle from the surface. Apply pressure from the centre out towards your hand with a squeegee or credit card.


Remove the tape from the remaining side, and repeat: hold the outer edge of the decal at a shallow angle from the surface. Apply pressure from the centre out towards your hand with a squeegee or credit card.

STEP 5
Carefully peel the clear transfer tape away at an angle.

